
RECENT POSTS
How to Shorten Your Jeans and Keep the Original Hem (Using Tear Mender)
Thursday, September 17, 2020
We all know how hard it can be to find a pair of jeans that have everything you’re looking for—the right color, the right amount of wear or distress, the right height of the waistband, and most importantly: the right fit! If you found a pair you love, and they fit great in the waist and hips, but they are just a little too long, fear not--we are going to show you a way to shorten your pants to the length you want while keeping the original bottom hem. And no sewing is required!
What you’ll need:

Note: Once your new bottom hem has finished drying, you will have a very small fold right above the original stitching, but no one will be able to notice this! It will leave you with a very clean look, and finally, you will own the perfect pair of jeans!
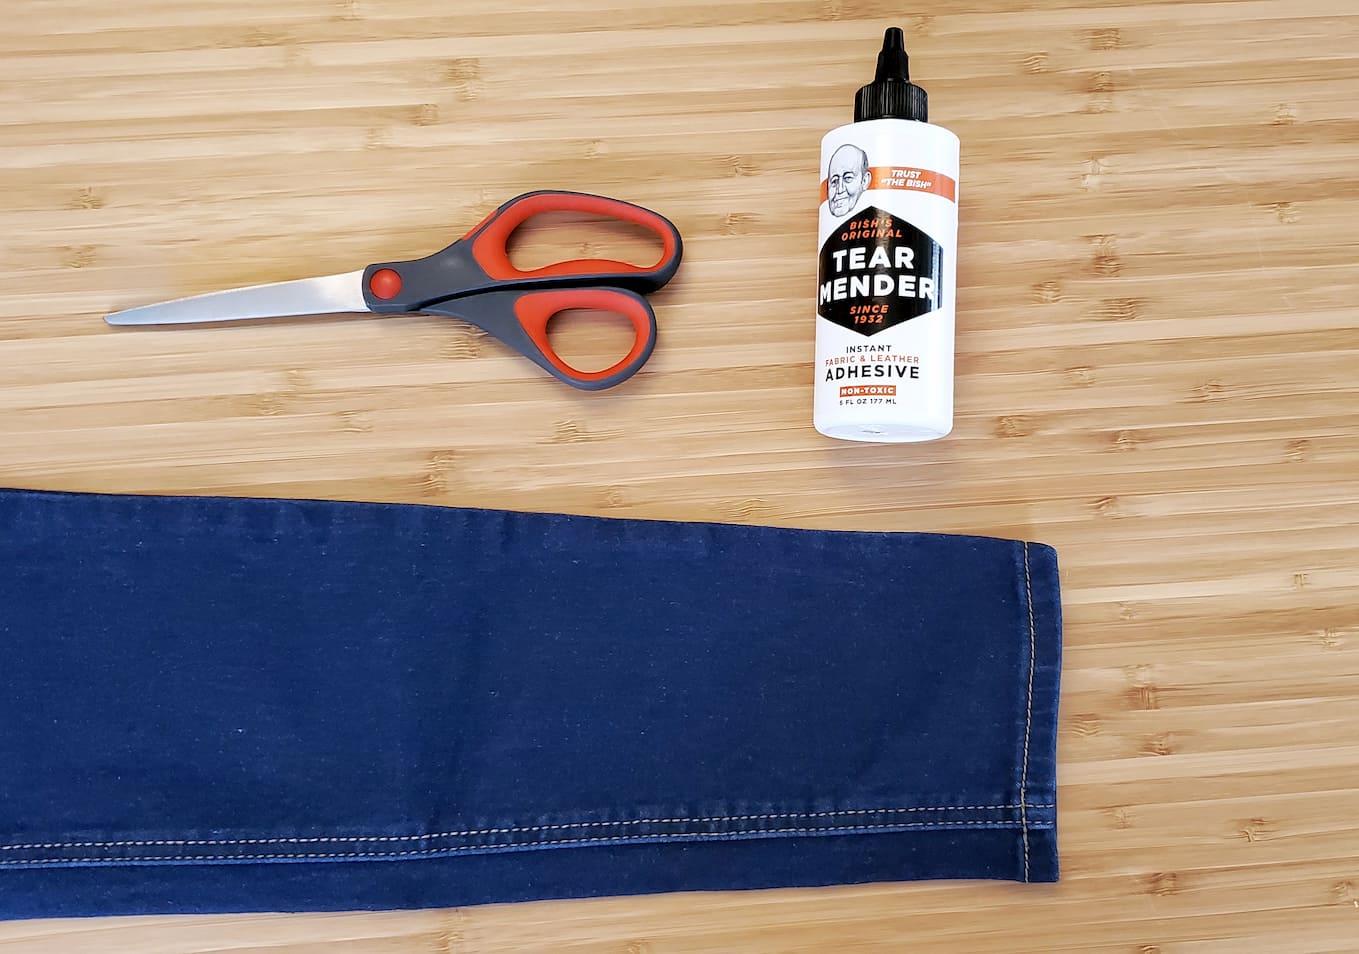
What you’ll need:
- A Pair of Scissors
- A Bottle of Tear Mender
- A Tape Measure or Small Ruler
- Your Finger (for applying the Tear Mender)
- Measure and mark a line on both legs where you want the new bottom of the jeans to be.
- Next, mark another line on each leg that is 3/4” BELOW your original mark. This is to leave a little extra length so we can fold in the unhemmed material.
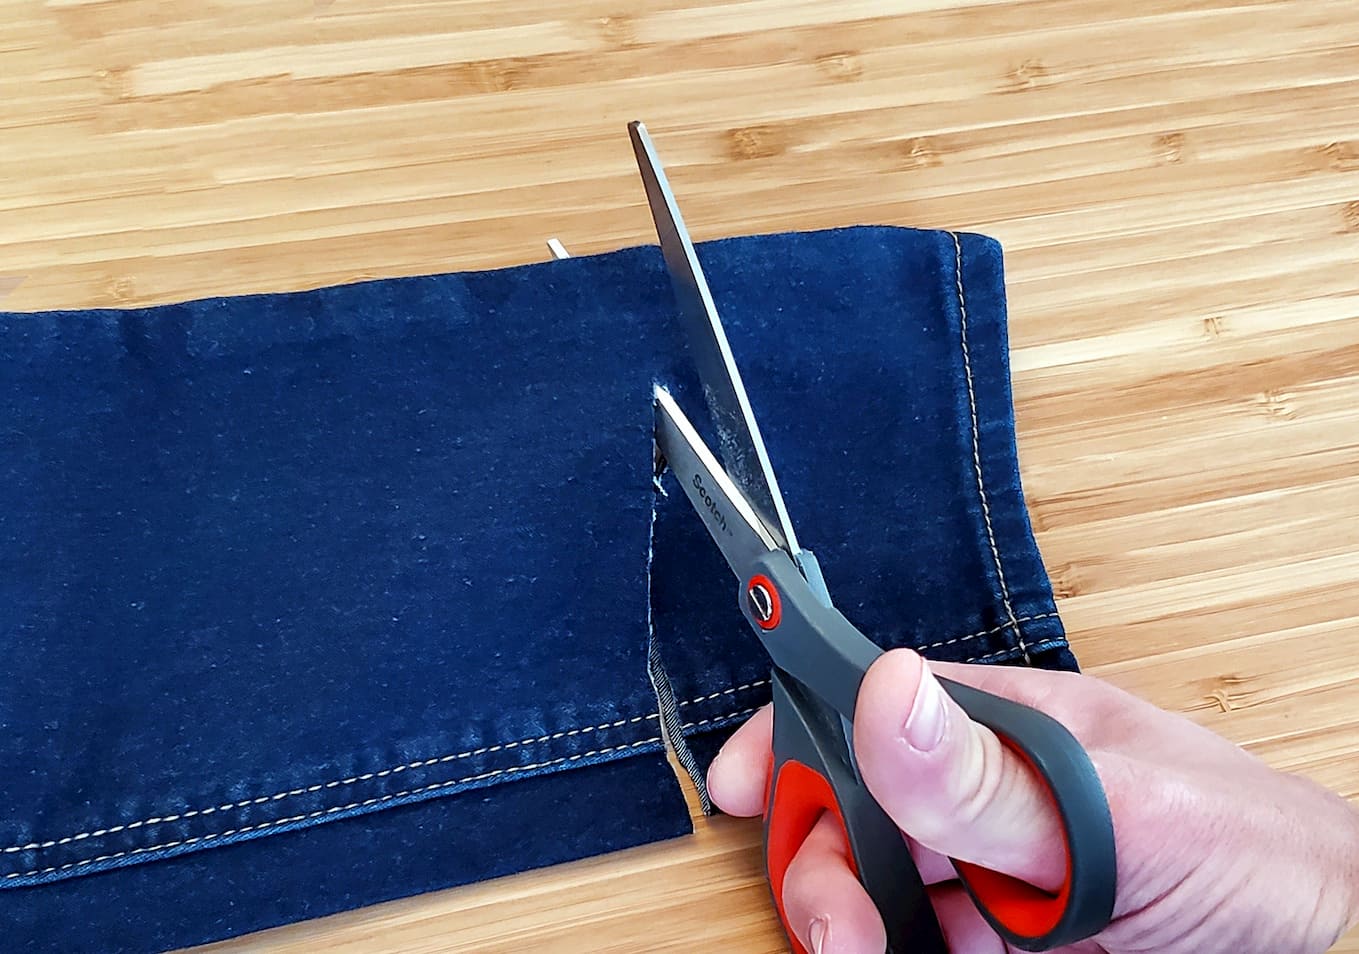
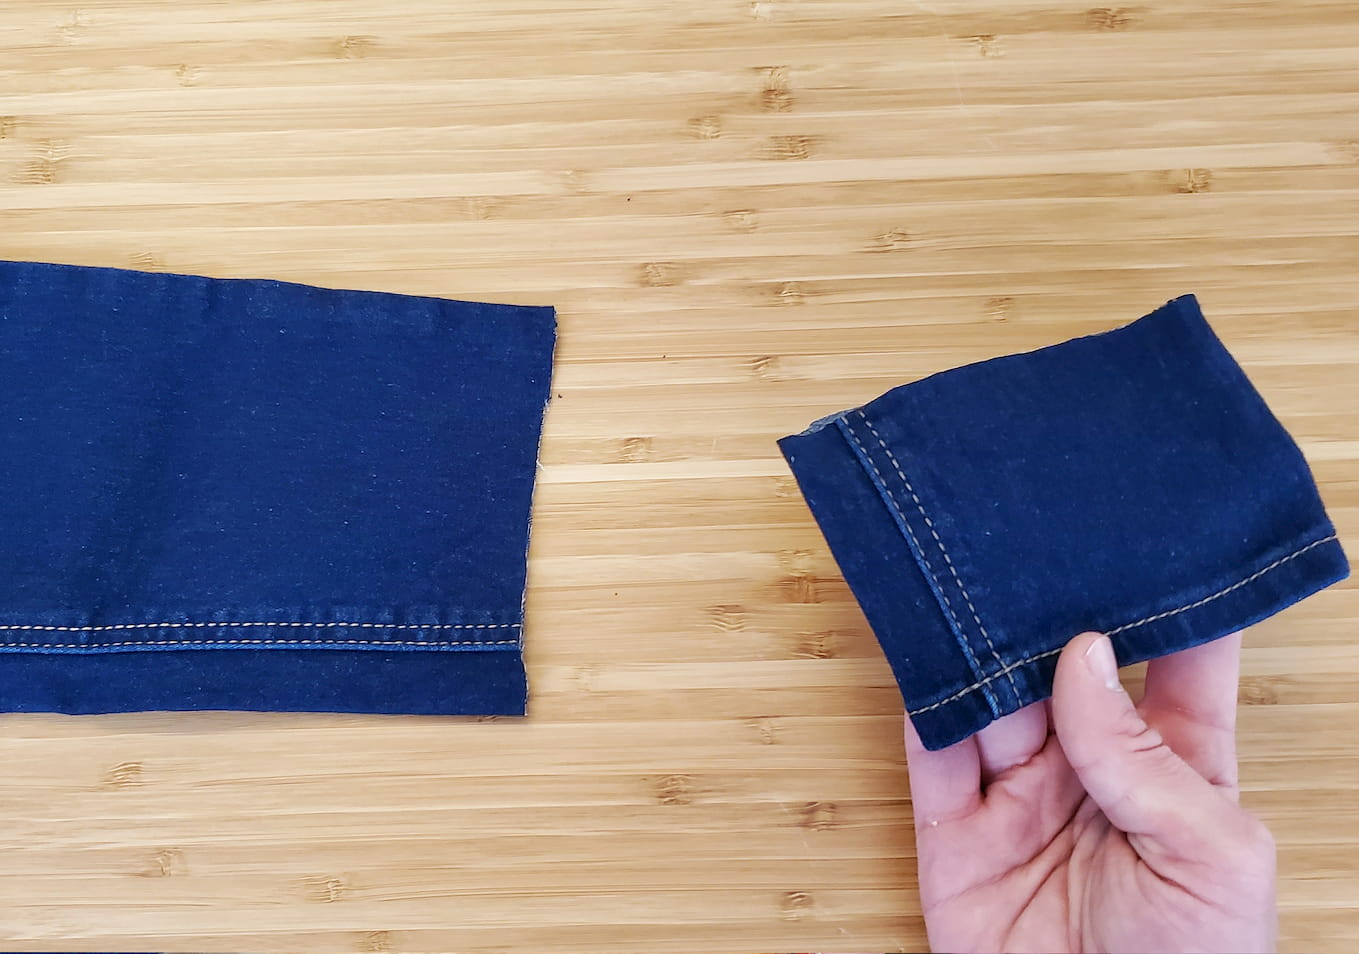
- Cut off the pant legs at the second (lower) line that we marked in step #2.
- Set aside the bottom of the pant legs and save for a later step.
- Turn the jeans inside-out and fold up a 1” Cuff on both pant legs.
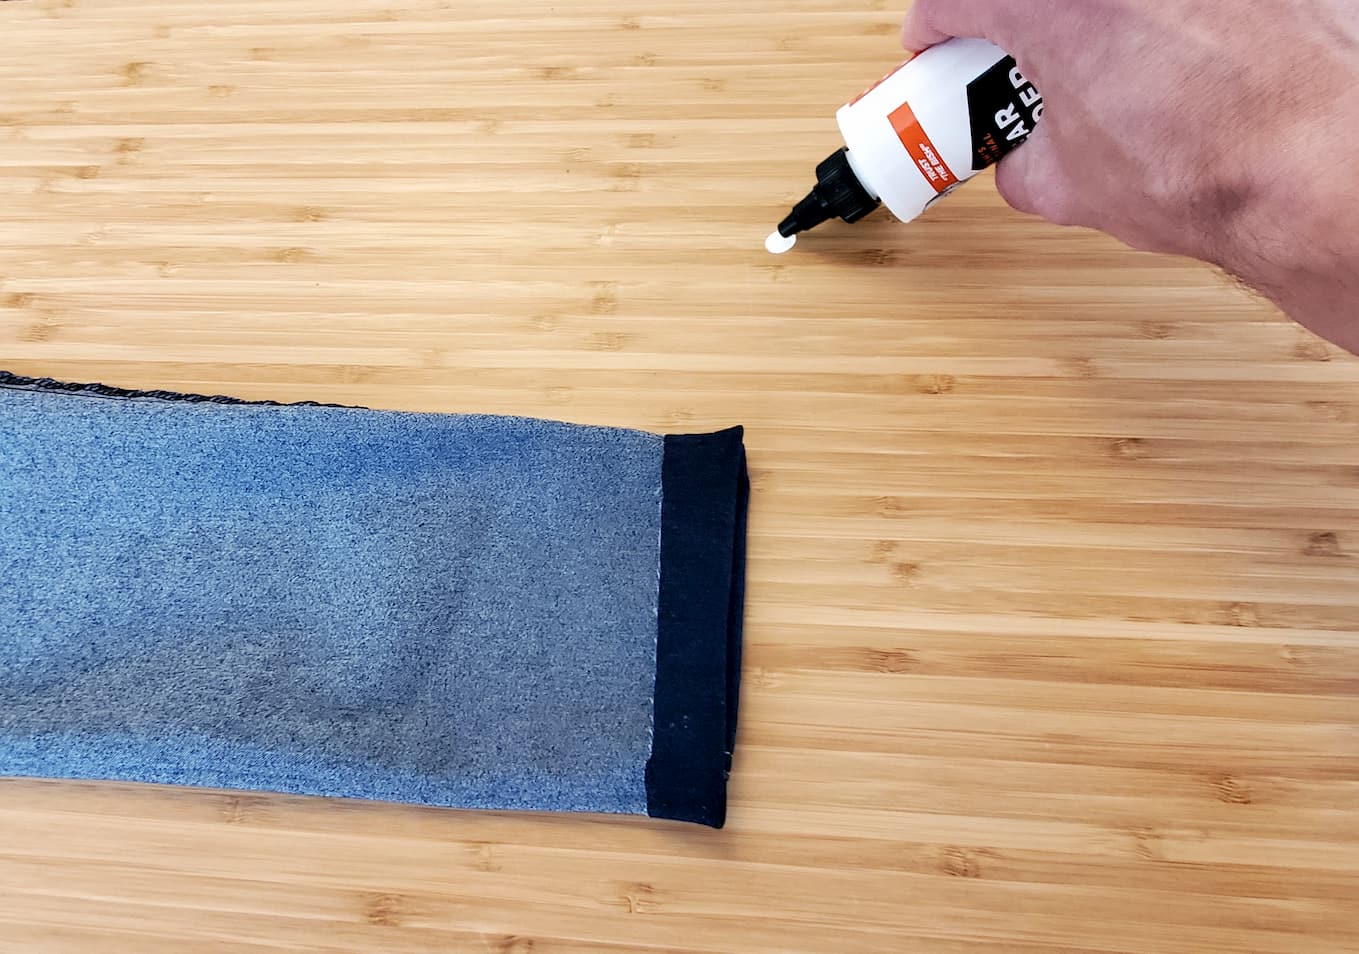
- Dispense a quarter-sized amount of Tear Mender onto a flat, hard surface (like a table or countertop).
- Use your index finger to apply a thin layer of Tear Mender inside of the cuff at the bottom of the pants to make the fold permanent.
- Press the material together and allow it to dry for 3 minutes.
- Turn the jeans right-side-out again.
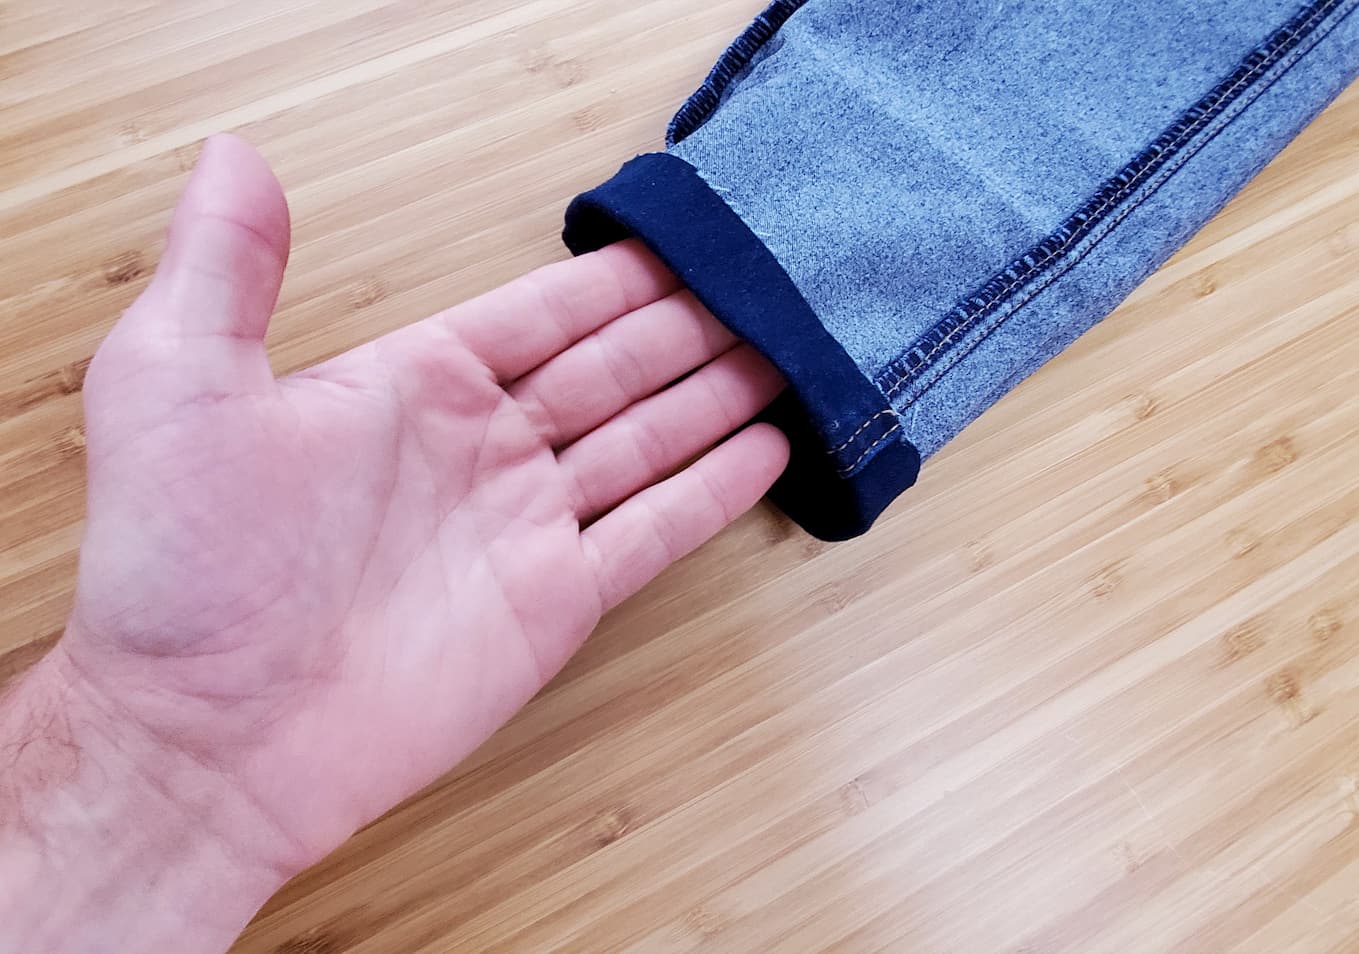
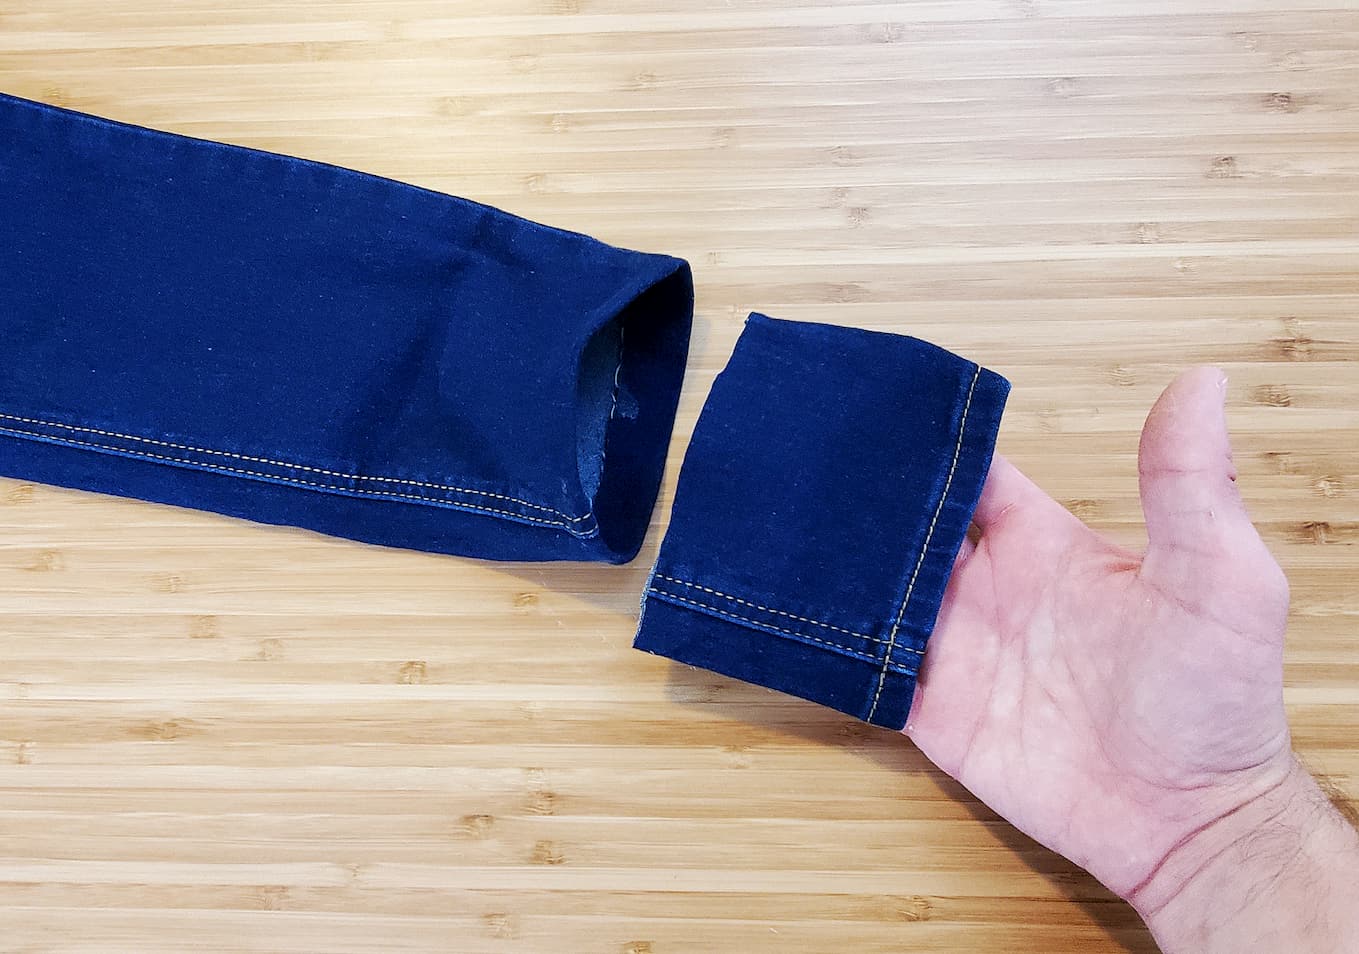
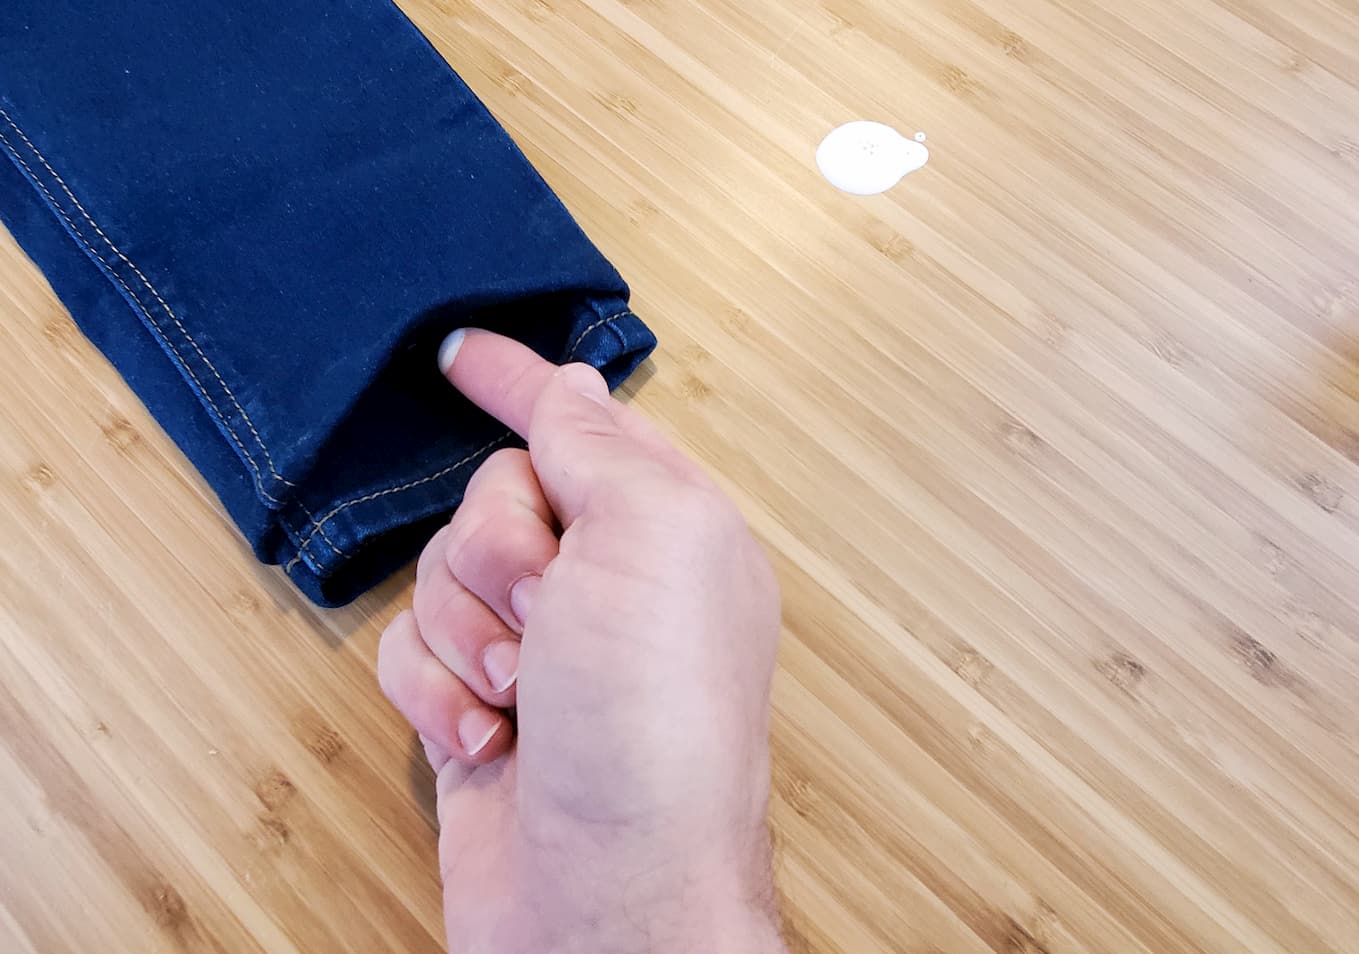
- Insert the original bottom pieces we set aside in step #4 into each pant leg. Make sure to rotate these pieces until the two seams that run up the leg of the jeans are aligned the way they were originally. You want the fold on the bottom of each leg to stop just above the hemstitching (1 millimeter, or as close as you can get it without covering up the stitching).
- Dispense a quarter-sized amount of Tear Mender onto a hard surface (a second time).
- Use your finger to apply a thin layer of Tear Mender around the inside of the bottom of each pant leg in order to reattach the original pieces. You may need to apply the glue, press the fabric together, and let it dry for 3 minutes, then flip the pants and do the other side.

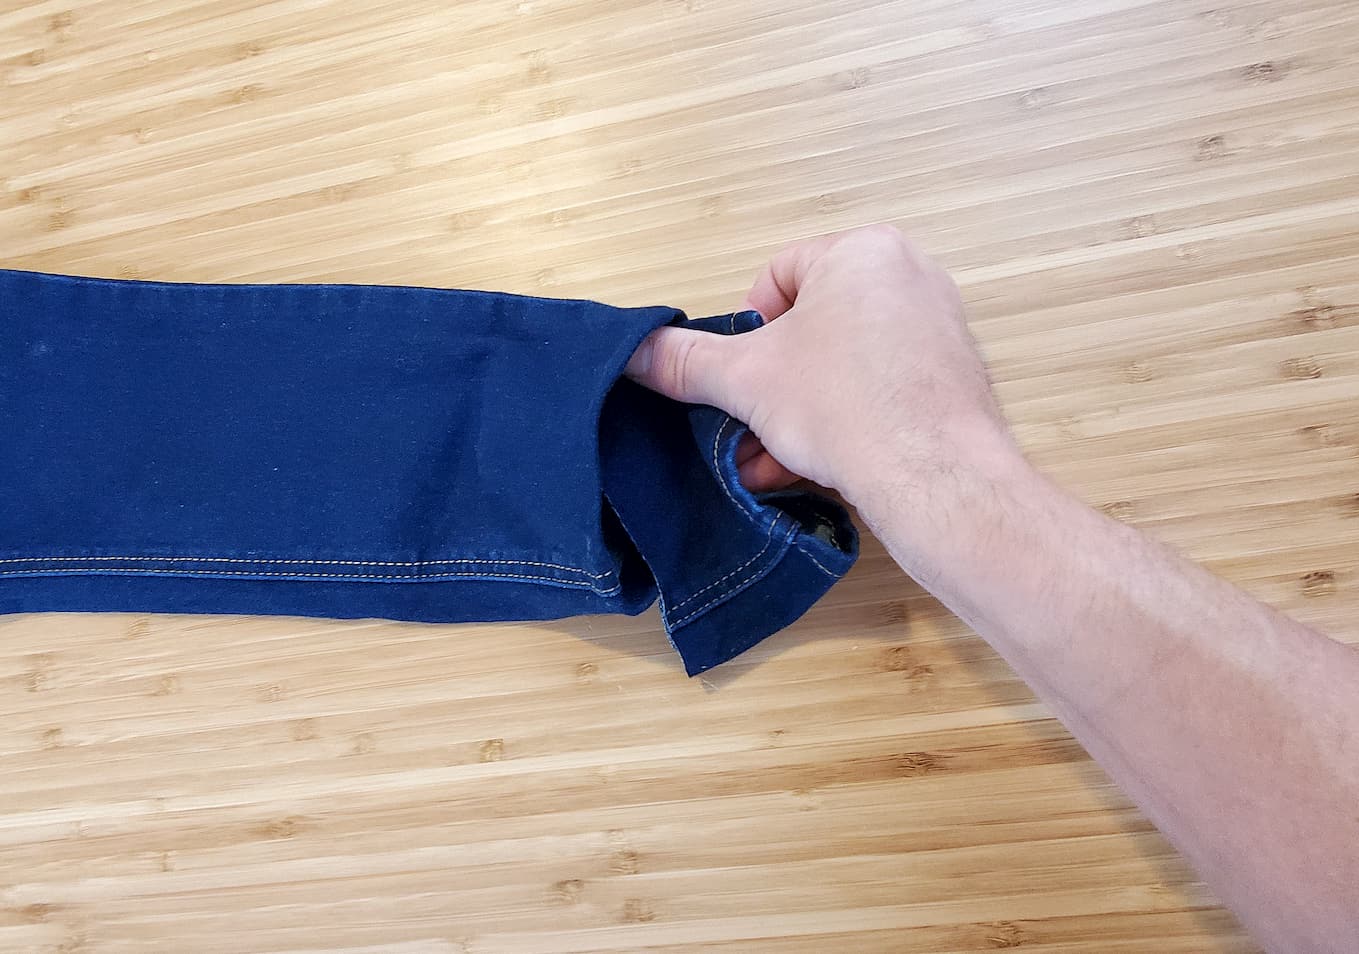

Note: Once your new bottom hem has finished drying, you will have a very small fold right above the original stitching, but no one will be able to notice this! It will leave you with a very clean look, and finally, you will own the perfect pair of jeans!